
The Atomic Starburst Quilt
The Atomic Starburst Quilt is made by combining foundation paper pieced Starburst blocks with traditional piecing for a vibrant, timeless quilt measuring 66” x 73”.
The Atomic Starburst quilt is a burst of midcentury modern charm, featuring the central starburst shape radiating playful energy with sleek lines and geometric harmony. Diamonds feature a perfect place for showcasing favorite prints and bursts of color.
I originally designed the Atomic Starburst quilt in conjunction with my fabric print collection Palm Canyon released at 2017 Fall Quilt Market in Houston, TX.
Instructions assume a knowledge of foundation paper piecing. If you are new to paper piecing or just want a thorough explanation of the construction of these blocks, please visit our Tutorials page. Pattern contains meticulously designed foundation paper piecing templates for the starburst blocks, ensuring precise piecing and stunning visual impact.
Original cover quilt made with Palm Canyon.
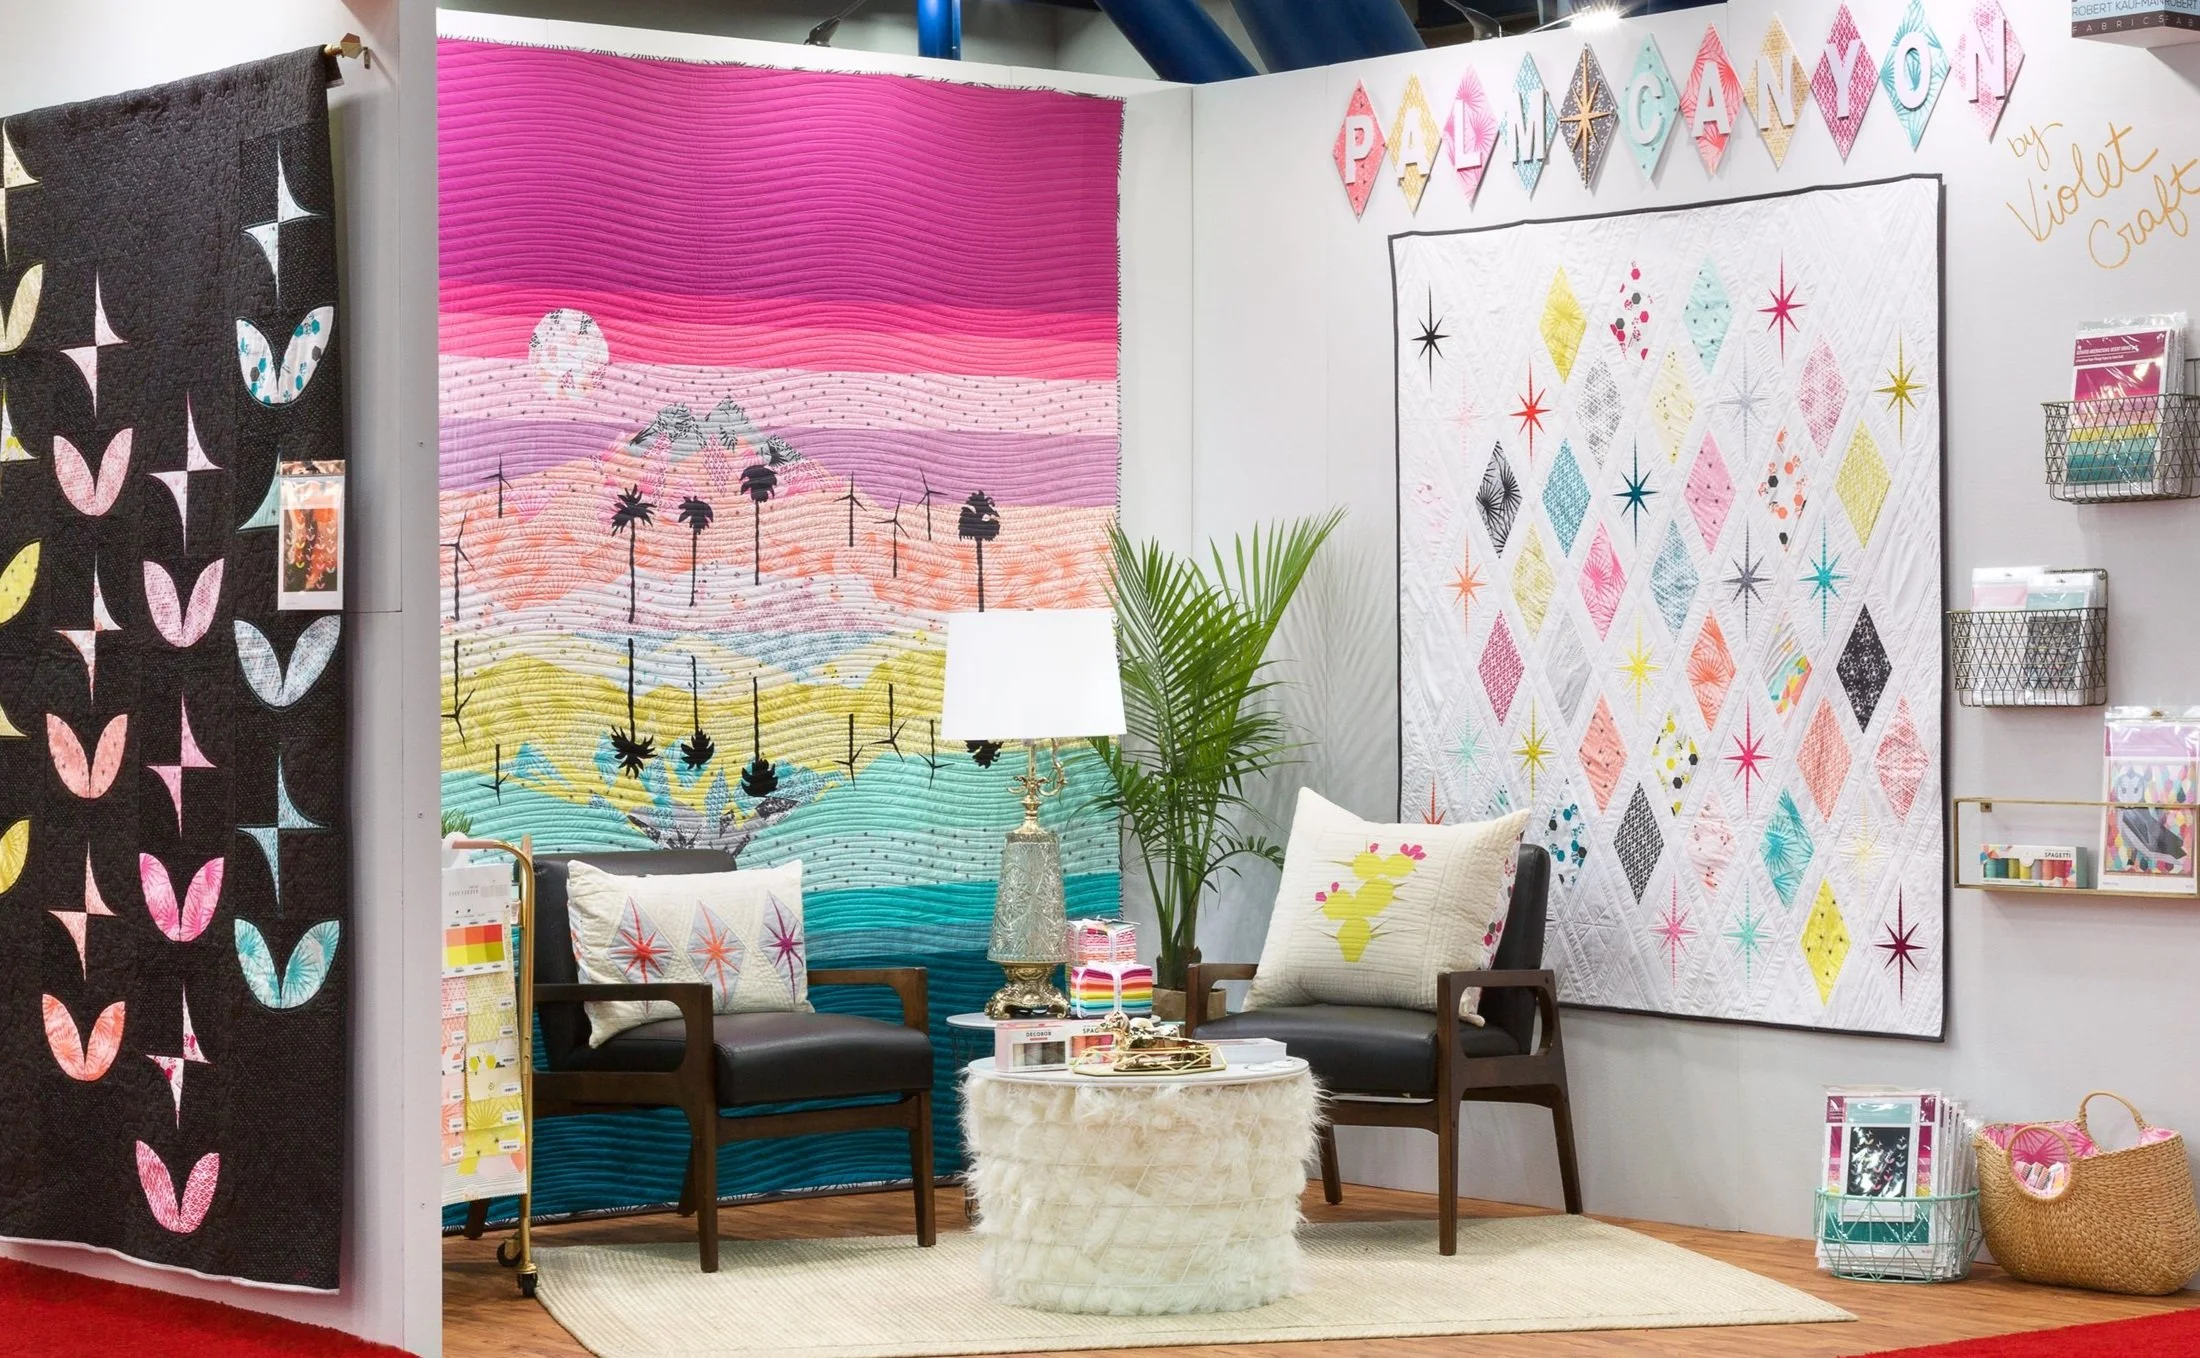
Violet Craft booth, International Quilt Market, Houston, TX 2017. First place single booth.


Pattern Cover & Back

Upsizing to Full/Queen
I designed The Atomic Starburst Quilt in an organic layout balanced in a way that was pleasing to me. This is my layout for a Full/Queen size measuring approximately 88” x 94”. I hope you like this layout!
This suggested layout uses:
161 small sashing pieces
161 large sashing pieces
30 starbursts
64 print diamonds
67 background diamonds
25 background top/bottom half diamonds
14 background side half diamonds
Estimated yardage requirements:
background: 8 yards, divided into (68) 2.5” strips, (15) 5.5” strips, remaining for foundation paper piecing the starbursts
print diamonds: (64) 7” x 12” pieces for directional fabric or 10” x 10” squares for cutting on point; (2) ten-square bundles will fulfill this requirement
starbursts: (30) 6” x 8” pieces or 10” x 10” squares
binding: 3/4 yard for 2.5” strips
backing: 9-1/3 yards, three vertical pieces

2020 Update
In November of 2020 the Atomic Starburst pattern was updated. The changes are minor. The original pattern calls for cutting off usable fabric and inches. Instead of trimming the original layout, I have updated the pattern to fill in the spaces and increase the size of the finished quilt top to 66" x 73". All templates are the same size, all measurements are the same. If you have purchased the original pattern, copyright previous to 2020, and want the instructions to update your pattern, contact us here.
Alignment Tips

Many people have found this additional explanation of sewing together angled pieces helpful. I hope this is helpful for you too!
In the step where a short sashing strip is added to a diamond, when they are placed right-sides-together, a small triangle piece, (often called a dog-ear) will hang out on either side. The fabric should align perfectly along the 1/4" seam allowance. The illustration at right shows the small triangle sticking out on each side and the stitching at the 1/4" mark matching the ends of both pieces of fabric. Then when the fabric is folded out, as in the second image, there are no dog ears as they are behind the sashing. When the long sashing is placed on the other side, the same situation will arise.
When you sew two units together, the same situation will arise. You'll need to align them right sides together with the dog ears sticking out and then sew along the 1/4" seam allowance. When it flips out it should line up.
Once the Diamonds are sewn into rows and the rows are placed right sides together, the rows will again match their points along the 1/4" sew line with dog ears at each end.